Quick Read: What You’ll Learn
- 01The four elements of a great ring photo→
- 02The five shot types every engagement gets→
- 03Editing: small touches, never filters→
- 04Common mistakes to avoid→
- 05Professional photography after the proposal→
Tap any point to jump straight to that section.
After the “yes” comes the photograph. Ring reveal shots spread across social media, family group chats, and storage drives that will outlast the phone they were taken on. Most of them are bad. The lighting is wrong, the ring is tiny, the hand is awkward. A twenty-minute setup produces photographs that actually look like the ring looks. Here is how.
Key takeaway
Great engagement ring photos have three things: natural soft light (near a window, never direct sun), a simple background (plain fabric or textured neutral surface), and a relaxed hand pose (fingers slightly bent, not fully extended). Skip filters. Skip flash. Shoot in portrait mode for depth, landscape for lifestyle.
The four elements of a great ring photo
1. Light: natural, indirect, soft
The single biggest predictor of photo quality is light. Direct sunlight creates harsh shadows and blown-out highlights on a diamond’s facets. Artificial indoor light (yellow bulbs) makes gold look muddy and diamonds look dim. The right light is indirect natural light near a window, ideally on a day that is bright but cloudy.
The ideal time of day is mid-morning or late afternoon (1–3 hours after sunrise, 2–4 hours before sunset). The sun is at a softer angle, and window light is diffuse rather than direct. Position the hand so the window is slightly to the side or behind, not directly in front (which creates silhouette).
If you do not have good natural light
Open all curtains, move to the brightest room in the house, face toward (not away from) the largest window. If the space is all artificial light, use a single LED lamp bounced off a white wall or ceiling, not shining directly on the ring.
2. Background: simple and neutral
The ring is the subject. The background is a frame. Anything with strong color, pattern, or visual clutter competes for attention. The best backgrounds are:
- A plain fabric surface: A silk scarf, a cashmere sweater, or a linen napkin. Creates soft texture without competing detail.
- Marble or stone: Counters, windowsills, or a flat piece of stone. Adds subtle veining and premium feel.
- A simple book cover: Hardcover book, no dust jacket. Works especially well for flat-lay shots.
- Skin: The hand itself, against a neutral sleeve or collarbone. Relatable, intimate, classic.
Avoid: patterned countertops, cluttered surfaces, bright-colored furniture, busy wallpaper, carpets with visible texture. These pull the eye away from the ring.
3. Hand pose: relaxed, slightly bent
The #1 mistake in engagement ring photos is the stiff, straight-finger “showcase” pose. It looks posed. A relaxed hand with fingers slightly curled looks natural and flattering.
The three-pose formula
- The “resting” pose: Fingers relaxed, gently curled. Hand resting on a surface or against the body. Looks effortless.
- The “holding something” pose: Hand wrapped around a coffee cup, wine glass, book. Implies a moment, not a photo session.
- The “couple hand-hold” pose: Intertwined fingers with the partner. Ring visible, context clear.
4. Camera settings: portrait mode, tap to focus
Every modern phone has a portrait mode that adds soft background blur. Use it. Then tap the ring on the screen to lock focus on the stone, not on the hand or the background. This is the single biggest amateur-to-polished upgrade.
Additional settings to toggle:
- HDR: off. HDR tries to balance light in the whole frame and can wash out a diamond’s highlights. Better to pick exposure manually.
- Flash: off. Always. Flash destroys diamond sparkle and turns gold into a yellow blur.
- Filter: none. Do the color correction in editing afterward, not in the capture.
- Resolution: highest your phone supports. Shoot RAW if possible.
The five shot types every engagement gets
The reveal shot
Close-up of the hand with the ring on, usually the first photograph taken after the proposal. Shoot this with slightly-bent fingers, palm angled down toward the camera. If indoors, face toward a window.
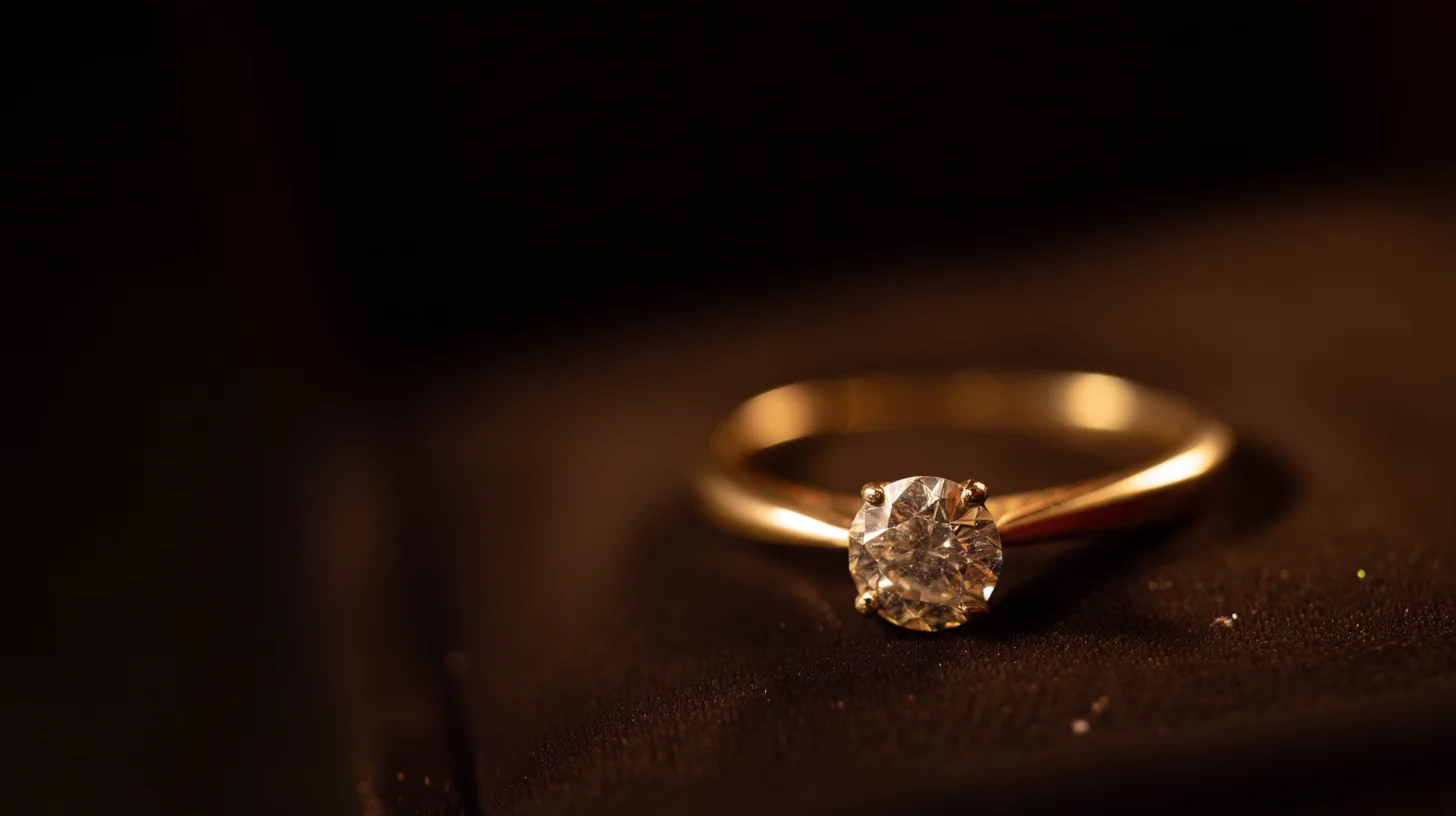
The macro shot
Extreme close-up showing the stone’s facets and the setting detail. Hold the ring 6–12 inches from the phone, tap to focus on the center stone. This is where an iPhone’s macro mode (iPhone 13 Pro and later) becomes useful. For older phones, use a clip-on macro lens ($15–$30) or simply crop in software afterward.
The hand-hold shot
Partner’s hands intertwined, ring visible on the finger, other hand relaxed. The emotional shot. Usually the most-shared of the proposal set.
The context shot
Wide angle showing the location or moment. The ring is a small detail, but the context gives the photograph narrative weight. Mountains, a restaurant table, a beach, the kitchen at home. Whatever setting tells the story.
The flat-lay shot
Ring placed on a surface alongside other meaningful objects (the ring box, flowers, a handwritten note, the person’s watch). Shot from directly above. Looks deliberately composed. Ideal for social media posts weeks later.
Editing: small touches, never filters
Good ring photographs need minimal editing. The photos where editing is obvious are the ones that look artificial. Three simple adjustments cover 90% of what you need:
+10-15
Brightness
-5 to -10
Warmth (less yellow)
+5-10
Sharpness
Avoid: oversaturation (blows out gold tones), strong contrast (makes shadows too dark on the finger), vignettes (unnecessary), Instagram presets (uniformly not flattering for jewelry).
Common mistakes to avoid
1. Shooting in bathroom or mirror light
Bathroom lighting is typically fluorescent and overhead, which creates harsh shadows and muddy color. If the proposal happens at home, move to the brightest window before photographing.
2. Using flash in low light
A flash reflection fills the diamond with a single bright spot that destroys its normal sparkle pattern. If the room is too dark for non-flash, move or wait for better light. A proposal does not require a same-minute photograph.
3. Shooting wet or just-washed hands
Water droplets and soap residue show up badly under macro lenses. If the ring was cleaned just before the proposal, wipe it dry with a lint-free cloth before photographing. Skin oils are also visible, so a light hand-lotion application before shooting gives the skin a smoother look.
4. Cluttered backgrounds
Restaurant tables with glasses and menus, kitchen counters with appliances, bedroom dressers with personal items. All visually noisy. Move the ring (or the hand) to a cleaner frame. A single, simple surface beats a narrative-rich but cluttered one.
5. Over-editing
A diamond that has been edited to glow unnaturally, with teeth-white highlights and oversharpened facets, looks like stock photography. Leave the ring looking like the ring.
Professional photography after the proposal
Many couples book a professional “engagement session” 2–8 weeks after the proposal, separate from wedding photography. This is worth considering if:
- You want high-quality images for the wedding website or save-the-date cards.
- The proposal happened somewhere without good photography (concert, airport, hospital).
- You want a professional portrait of the ring itself for insurance or keepsake.
Typical cost: $400–$1,200 for a 1–2 hour session with 20–50 edited photographs. This is independent of wedding day photography and typically a different photographer.
Diavlia product photography covers the essentials
Every ring is professionally photographed before shipping, so the product photos on your order confirmation are usable for insurance appraisal and social sharing before your own shots.
Shop Engagement RingsFAQs
What camera setting is best for jewelry photos?
Portrait mode on modern smartphones, with HDR and flash off. Tap the diamond on screen to lock focus. For professional cameras: aperture f/4–f/5.6, ISO 100–200, natural light, no flash.
Why do ring photos look dull in person?
Almost always a lighting problem. Diamonds require directional light to sparkle. Indoor overhead lighting is often too diffuse or too yellow. Move toward a window, try again.
Should I clean the ring before photographing?
Yes. Fingerprints and oils show up clearly under macro photography. Wipe the ring with a lint-free cloth (provided with most Diavlia orders) before the session.
Can I take good ring photos on an old iPhone?
Yes, with the right light and composition. Every iPhone from the 8 onward has a sensor capable of strong ring photography. The limitation is lighting knowledge, not camera hardware.
Is it okay to edit the ring photo?
Minor adjustments yes: brightness, warmth, sharpness. Heavy editing no: saturation boosts, filters, or replacing the background. The best ring photographs look like the ring, slightly brighter.
Related reading
Last updated: April 2026.